NOTE: You should be connected to the internet until the end of these steps
1. Download and install a C++ compiler (if you don’t have one yet installed in your machine).
1.1. Go to www.mingw.org/ and click the “Download Installer” button to download the MinGW setup file.
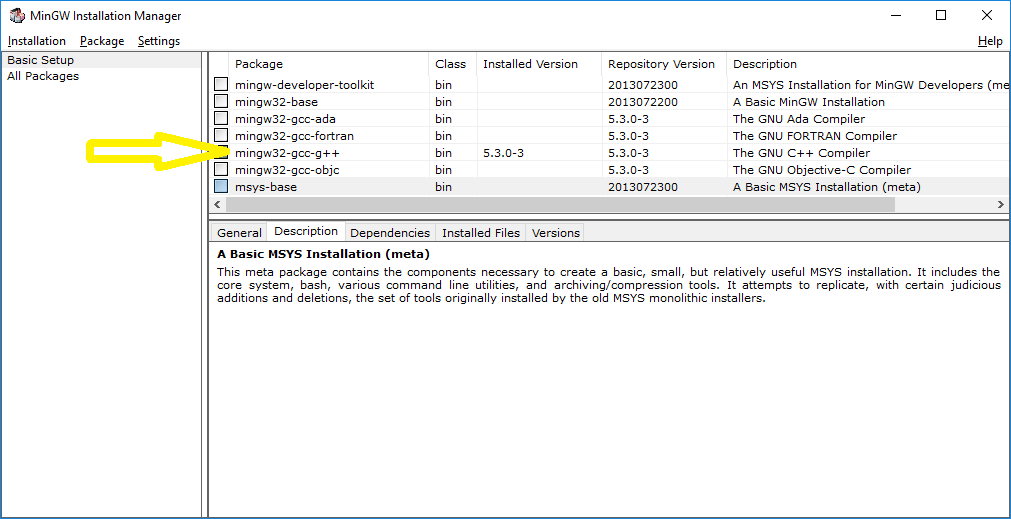
1.2. Install MinGW and wait for the “MinGW Installation Manager” to show up. (see picture in step #3)
1.3. When the “MinGW Installation Manager” to shows up, click on the mingw32-gcc-g++ then select “Mark for Installation”
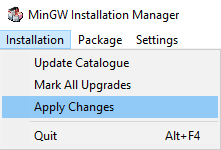
1.4. In the menu at the top, click on “Installation” -> “Apply Changes”
1.5. Wait until the installation is finished
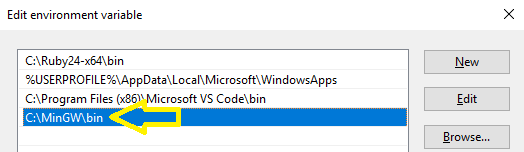
2. Edit your PATH environment variable to include the directory where the C++ compiler is located
3. Install “Code Runner” extension in VS Code
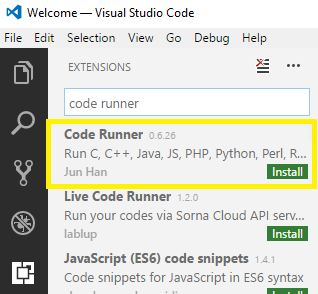
3.1. In VS Code, search for the extension called “Code Runner” then install it
3.2. Restart VS Code
3.3. Open you C++ file in VS Code
3.4. Run your code using “Code Runner”
From the docs of “Code Runner”:
Open code file or select code snippet in Text Editor, then use shortcut
Ctrl+Alt+N, or pressF1and then select/typeRun Code, or right click the Text Editor and then clickRun Codein editor context menu, or clickRun Codebutton in editor title menu, the code will run and the output will be shown in the Output Window.
To stop the running code, use shortcut
Ctrl+Alt+M, or pressF1and then select/typeStop Code Run, or right click the Output Channel and then clickStop Code Runin context menu
